Upgrade OPNsense ISC DHCP to Dnsmasq and DHCP
What this tutorial covers:
Update to Dnsmasq DNS & DHCP services, replacing deprecated [translate:ISC DHCPv4/DHCPv6]. This includes disabling legacy DHCP, configuring new settings, and validating DHCP and DNS functionality.
Update OPNsense to Latest
Check updates via:
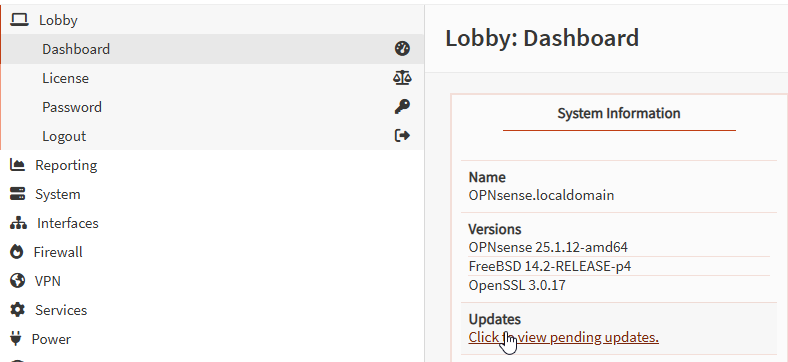
After checking, follow the wizard to install updates.
Backup Your Settings
Always back up before making major changes:
- System > Configuration > Backups > Download Configuration
Download Static DHCP Mappings
Download your static DHCP mappings from:
- Services > [translate:ISC DHCPv4] > LAN
Save the CSV.
Setup Dnsmasq DNS & DHCP
In Services > Dnsmasq DNS & DHCP > General:
- Set interfaces to
LAN. - Set listen port to
0(allows Unbound DNS to handle all queries). - Enable Do not forward to system defined DNS servers.
Click Apply.
IPv4 Settings:
- Interface: LAN
- Start address: 192.168.1.2
- End address: 192.168.1.254
- Description: (Description for subnet)
IPv6 Settings:
- Interface: LAN
- Start address: ::1000
- End address: ::2000
- Description: (Description for subnet)
Upload Static Mappings
Go to Hosts tab, upload the CSV from earlier.

Disable Router Advertisements
- Services > Router Advertisements > LAN
- Set to disabled and Save.

Disable ISC DHCPv4 and DHCPv6
In Services > ISC DHCPv4 / DHCPv6 > LAN:
- Uncheck Enabled
- Hit Save.
Note: Do this quickly to avoid losing DHCP lease.
Enable Dnsmasq & DHCP
-
Services > Dnsmasq DNS & DHCP > General
-
Check Enabled and Apply.
Set DHCP Reservations
In Leases, click + icon for static assignments. Enter description, IP address, and save.
Verify DHCP & DNS
Check DHCP leases and ensure DNS resolution via:
nslookup google.com
You should see your OPNsense IP resolving.
